Support and resistance levels represent the price zones where supply and demand forces converge in currency markets, creating turning points that traders use to identify potential entry and exit opportunities. These foundational technical analysis concepts matter because they reveal where institutional order flow concentrates and where price is likely to pause, reverse, or accelerate. This guide explains how to identify support and resistance using multiple methods—from historical swing points and psychological levels to dynamic indicators like moving averages and Fibonacci retracements. You’ll learn what strengthens these levels, how to apply them practically, and why proper risk management remains essential. While these tools provide valuable market structure insights, they require confirmation and realistic expectations rather than promises of guaranteed outcomes.
What Are Support and Resistance Levels?
Currency pairs don’t move in straight lines. They fluctuate within boundaries where buying and selling forces clash, creating invisible barriers that technical traders call support and resistance levels. These price zones represent the fundamental mechanics of supply and demand playing out in real-time across global forex markets.
Support: The Price Floor
Support represents a price level where buying demand is strong enough to prevent further decline. When EUR/USD drops to 1.0800 and repeatedly bounces higher from that level, buyers have demonstrated willingness to enter the market at that price. This accumulation of buy orders creates a floor effect.
The mechanism is straightforward: as prices approach support, traders who missed previous buying opportunities see a second chance, while those holding short positions take profits. This convergence of buying pressure absorbs selling momentum. Historical price data shows that previous swing lows frequently become support zones because market participants remember these levels and act accordingly.
Resistance: The Price Ceiling
Resistance functions as the opposite force—a price ceiling where selling pressure halts upward movement. If GBP/USD rallies to 1.2700 multiple times but fails to break higher, that level has established itself as resistance. Sellers dominate at this threshold, either taking profits from long positions or initiating new short trades.
The supply-demand imbalance at resistance stems from traders who bought at higher prices seeking to exit at breakeven, combined with technical traders placing sell orders at proven resistance zones. When a resistance level finally breaks, it often transforms into new support—a phenomenon called role reversal. This occurs because the breakout validates the level’s significance, attracting buyers who view the former resistance as a reliable entry point for continued upward movement.
Identifying Support and Resistance Using Historical Price Data
Forex charts reveal critical price levels where currency pairs have historically reversed or stalled. These historical turning points provide the foundation for identifying support and resistance zones that traders monitor for potential entry and exit opportunities.
Swing Highs and Swing Lows
Previous swing highs—peaks where price reversed downward—typically function as resistance when price approaches them again. Conversely, previous swing lows—troughs where price bounced upward—often become support levels. To identify these on your charts:
- Locate swing highs: Find peaks with at least one lower high on each side
- Mark swing lows: Identify troughs with at least one higher low on both sides
- Connect multiple touches: Draw horizontal lines where price has reversed multiple times at similar levels
- Prioritize recent data: Levels formed within the past 3-6 months generally carry more weight than older ones
When marking these levels on EUR/USD, for example, if price repeatedly reversed near 1.0850 over several weeks, that price level warrants attention as potential resistance.
Zones Versus Exact Price Levels
Price rarely respects support and resistance at precise numbers. Instead, these levels function as zones—typically spanning 10-30 pips in major currency pairs. A support zone at 1.0800 might extend from 1.0790 to 1.0820, where buying pressure concentrates.
Think of these zones as areas of interest rather than laser-precise lines. Price may briefly pierce a level by several pips before reversing, a phenomenon called a “false breakout” or “stop hunt.” Marking zones instead of exact prices accounts for this natural price behavior and reduces premature trade exits.
When analyzing GBP/USD, if historical lows cluster between 1.2450 and 1.2480, draw a shaded zone rather than a single line. This approach better reflects how institutional orders accumulate across price ranges, not at single points.
The Role Reversal Principle: When Support Becomes Resistance
A resistance level at 1.1000 in EUR/USD holds firm through three consecutive tests, then breaks decisively upward. Within days, that same 1.1000 level now catches a declining price, stopping the fall. This transformation—broken resistance becoming new support—represents one of the most reliable phenomena in technical analysis.
The polarity principle explains why price levels flip their function after being breached. When resistance breaks, it signals that buyers have overwhelmed the supply of sellers who previously defended that level. Those sellers who missed their exit now view any return to that price as a second chance to exit at breakeven, creating new demand. Meanwhile, traders who bought the breakout see pullbacks to the broken level as opportunities to add positions, further reinforcing the new support.
The reverse holds equally true. When EUR/USD breaks support at 1.0800, traders who bought at that level become trapped in losing positions. If price rallies back toward 1.0800, these traders rush to exit at their entry point, transforming former support into formidable resistance. Order flow data confirms this behavior: limit sell orders cluster heavily at broken support levels during subsequent rallies.
Trading Implications
Understanding role reversal improves entry timing and risk management. After a resistance breakout, waiting for price to retest the newly formed support offers better risk-reward ratios than chasing the initial move. Stop-losses placed just below converted support levels align with natural price structure.
The strength of role reversal correlates with the original level’s significance. A resistance level that held for months typically becomes stronger support than one tested only once. Volume matters too—breakouts on high volume produce more reliable role reversals than low-volume breaks, which often fail and revert to their original function.
Psychological Levels and Round Numbers
Approximately 30% more orders cluster around round numbers like 1.2000 or 1.5000 in major currency pairs compared to arbitrary price levels such as 1.2137 or 1.4983. This concentration occurs because traders instinctively gravitate toward clean, memorable figures when placing stop-losses, take-profit orders, and limit entries.
The phenomenon stems from cognitive biases in human decision-making. Round numbers require less mental processing and are easier to recall during rapid trading decisions. When a EUR/USD trader considers where to exit a position, 1.1000 feels more natural than 1.0987. This collective bias creates self-fulfilling prophecies—because many traders expect price reactions at these levels, their combined order flow actually produces the anticipated support or resistance.
Major psychological levels typically occur at increments of 100 pips (1.2000, 1.2100) and 50 pips (1.2050, 1.2150) in most currency pairs. The “big figure” levels ending in .0000 carry the most significance, often triggering substantial order flow. For instance, parity (1.0000) in EUR/USD or 100.00 in USD/JPY frequently becomes a battleground where buyers and sellers concentrate their positions.
Traders can identify these levels by simply rounding current prices to the nearest psychologically significant number. If GBP/USD trades at 1.2687, the next major psychological resistance sits at 1.2700, with stronger barriers at 1.2750 and 1.3000. Conversely, support likely exists at 1.2650 and 1.2600.
The behavioral economics principle of anchoring explains why these levels persist. Traders anchor their expectations to round numbers, treating them as reference points for value assessment. This creates concentration zones where order density increases, price velocity often slows, and reversals become more probable.
Dynamic Support and Resistance Indicators
Unlike static horizontal levels drawn from historical price points, dynamic support and resistance levels continuously adjust as market conditions evolve. These moving levels provide traders with real-time reference points that adapt to trending markets where prices rarely return to fixed historical zones.
Moving Averages
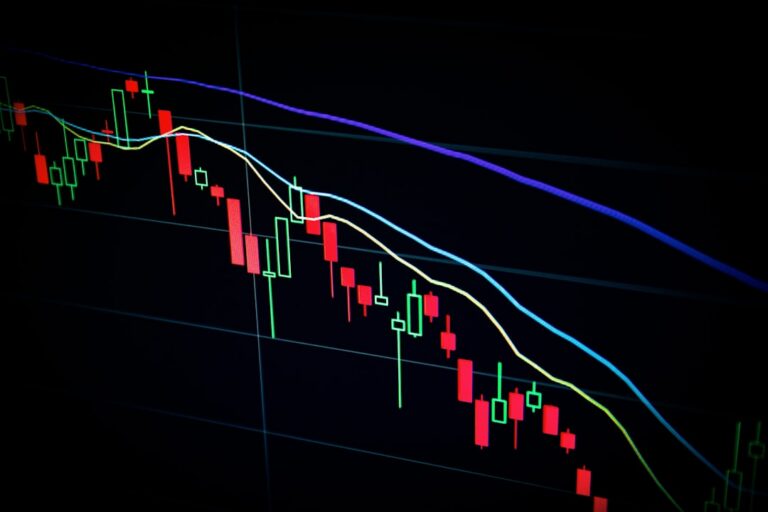
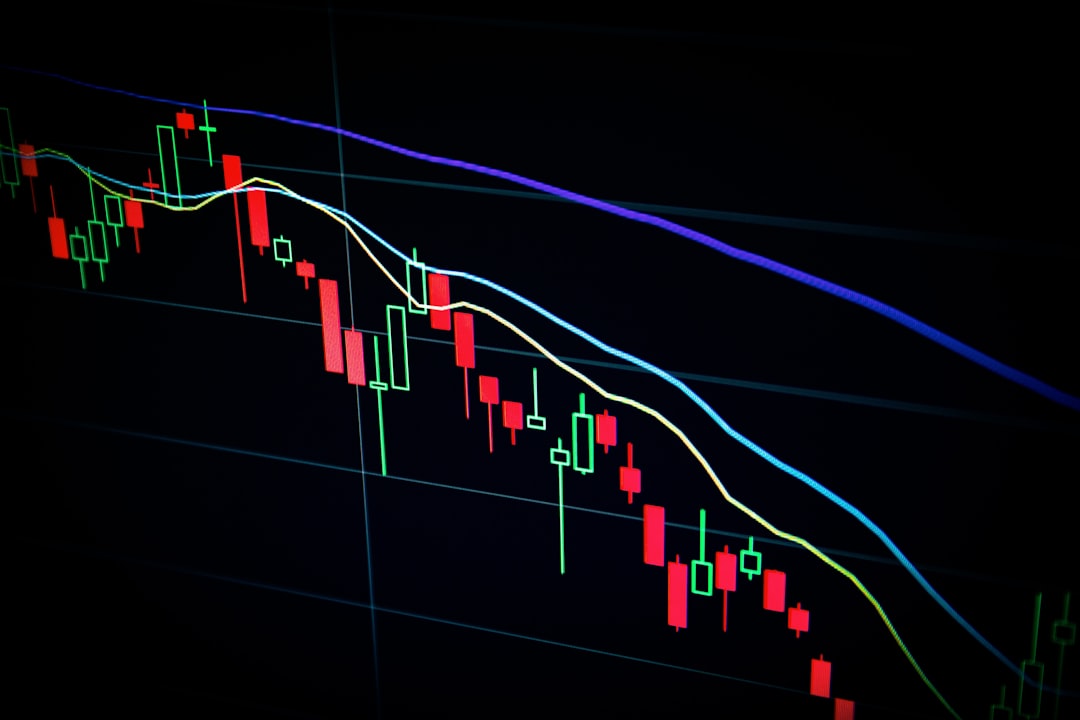
Moving averages rank among the most widely monitored dynamic indicators in forex trading. The 50-day, 100-day, and 200-day moving averages function as fluid support and resistance zones that shift with each new trading session.
The 200-day moving average carries particular statistical weight. When a major currency pair trades above this level, it signals long-term bullish sentiment; below it indicates bearish conditions. During strong trends, prices frequently bounce off the 200-day moving average multiple times before the trend exhausts.
Key characteristics of moving average support and resistance:
- 50-day MA: Responds quickly to price changes, suitable for identifying medium-term trend shifts
- 100-day MA: Balances responsiveness with stability, often marks the boundary between corrections and reversals
- 200-day MA: Highly reliable for major trend identification, institutional traders monitor this level closely
- Multiple timeframe confluence: When price approaches both the 100-day and 200-day MAs simultaneously, the zone typically produces stronger reactions
Trendlines
Trendlines connect successive higher lows in uptrends or lower highs in downtrends, creating diagonal support and resistance channels. Unlike moving averages calculated from price data, trendlines require subjective judgment about which swing points to connect.
Valid trendlines demonstrate at least three touches where price respects the level. The more times price bounces off a trendline without breaking through, the more significant that level becomes. However, all trendlines eventually break as market conditions shift.
Dynamic levels differ fundamentally from static horizontal support and resistance because they account for directional bias. A currency pair trending higher may never revisit a horizontal support zone from weeks prior, but a properly drawn ascending trendline continues providing actionable reference points throughout the trend’s duration.
Advanced Tools: Fibonacci Levels and Pivot Points
Beyond basic horizontal support and resistance, traders employ mathematical tools that identify potential reversal zones with remarkable precision. Two approaches dominate professional trading floors: Fibonacci retracements and pivot point calculations.
Fibonacci Retracements
Fibonacci levels derive from a mathematical sequence where each number equals the sum of the two preceding numbers (0, 1, 1, 2, 3, 5, 8, 13…). The ratios between these numbers produce percentages that traders overlay on price charts to predict where retracements might pause or reverse.
The key Fibonacci retracement levels include:
- 23.6% – Shallow retracement, often signals strong trend continuation
- 38.2% – Moderate pullback level, common in healthy trends
- 50% – Not technically a Fibonacci number, but widely watched as a psychological midpoint
- 61.8% – The “golden ratio,” considered the most significant retracement level
- 78.6% – Deep retracement, suggests potential trend weakness
To apply Fibonacci retracements, traders identify a significant price swing—for example, EUR/USD rallying from 1.0500 to 1.1000—then draw the tool from low to high. The software automatically plots horizontal lines at each percentage level. If price pulls back to the 61.8% level (1.0691 in this case) and bounces, traders interpret this as strong support.
Pivot Points for Day Trading
Pivot points offer intraday support and resistance calculations based on the previous trading session’s price action. Day traders and scalpers rely heavily on these levels because they reset daily and provide objective price targets.
The standard pivot point formula uses the previous day’s high, low, and close to calculate a central pivot (PP), then derives support (S1, S2, S3) and resistance (R1, R2, R3) levels. Most trading platforms calculate these automatically. When EUR/USD opens near the pivot point and breaks above R1, scalpers often target R2 as their next profit objective, while a break below the pivot suggests testing S1.
Factors That Strengthen Support and Resistance Levels
Not all support and resistance levels carry equal weight in currency markets. A EUR/USD level tested once holds far less significance than one that has rejected price movements five or six times over several months.
The reliability of any support or resistance level depends on several measurable factors that traders can evaluate before making decisions.
Historical Test Frequency
The number of times price has approached and reversed from a level directly correlates with its strength. A level that has successfully held back price three or more times demonstrates genuine market consensus. Each test without a break reinforces trader confidence in that zone, creating a self-fulfilling dynamic where more participants place orders near that price.
Volume Confirmation
High trading volume at a specific price level validates its importance. When price reaches 1.1000 in EUR/USD with volume spiking 40% above average, institutional players are actively defending that level. Low-volume tests suggest weak conviction and increase the probability of a breakout.
Central Bank and Policy Anchors
Price levels where central banks have previously intervened or made policy announcements carry institutional memory. The Bank of Japan’s intervention points around 150.00 in USD/JPY become reference levels that traders monitor closely for months afterward.
Algorithmic and Institutional Order Clustering
Major financial institutions place large orders at round numbers and technical confluences. Approximately 30% more orders cluster at levels like 1.2000 versus 1.1987, creating natural barriers where multiple algorithms and traders converge.
Time Frame Alignment
A resistance level visible on both daily and weekly charts holds significantly more weight than one appearing only on the 15-minute chart. Multi-timeframe confirmation indicates broader market participation and increases the likelihood that the level will influence future price action. Trading decisions based on higher timeframe levels typically carry lower risk of false breakouts.
Practical Application and Risk Considerations
Approximately 70-75% of forex traders incorporate support and resistance levels into their analysis, making these concepts among the most widely used technical tools in currency markets. However, effective application requires layering multiple confirmation signals rather than relying on any single level.
Traders typically strengthen their analysis by combining different support and resistance types. For example, when a historical swing low coincides with a 200-day moving average and a psychological round number like 1.1000 on EUR/USD, that confluence creates a stronger potential support zone. This multi-layered approach helps filter out weaker signals and identifies areas where institutional order flow likely concentrates.
The critical limitation: no support or resistance level is guaranteed to hold. Price can and will break through levels that appear significant on charts. Market conditions change, fundamental news creates volatility, and what held during low-volume Asian trading sessions may fail during high-impact economic releases. Treating these levels as absolute barriers rather than probability zones leads to poor decision-making.
Risk management becomes essential when trading around support and resistance. Stop-loss orders should be placed beyond the level you’re trading, accounting for temporary price spikes or “stop hunts” where price briefly breaks a level before reversing. A common approach positions stops 10-20 pips beyond major support or resistance levels on major pairs, though this varies based on timeframe and pair volatility.
The decentralized nature of forex markets introduces another consideration. Unlike centralized exchanges, forex trades through a network of banks, brokers, and liquidity providers. Price feeds vary slightly between platforms, meaning a support level that appears to hold on one broker’s chart may show a break on another’s. This discrepancy rarely exceeds a few pips on major pairs but can affect precise entry and exit timing, particularly on shorter timeframes.
Building Your Support and Resistance Framework
Support and resistance levels form the structural foundation that most technical traders use to navigate currency markets. This guide has covered the essential components: static levels drawn from historical swing points, dynamic indicators like moving averages and trendlines, psychological round numbers, mathematical tools including Fibonacci retracements and pivot points, and the factors that determine level strength.
These concepts matter because they reveal where market participants have previously made decisions and where they’re likely to act in the future. The role reversal principle, volume confirmation, and multi-timeframe alignment all contribute to identifying high-probability zones where price behavior may change. However, support and resistance analysis provides probability-based insights rather than certainties. No level is guaranteed to hold, and breakouts occur regularly as market dynamics shift.
Effective application requires combining multiple confirmation signals, implementing proper risk management with stop-losses placed beyond key levels, and maintaining realistic expectations about what technical analysis can achieve. Start by marking major swing highs and lows on your charts, identify psychological round numbers, and observe how price reacts when approaching these zones. Practice distinguishing between strong multi-touch levels with volume confirmation and weaker single-test zones. Over time, this framework becomes an essential component of market analysis, provided you pair it with disciplined risk management and recognize that all technical tools work within probabilities, not guarantees.